
DIY Tips: Installing Wood Trusses Safely and Effectively
Understanding Wood Trusses
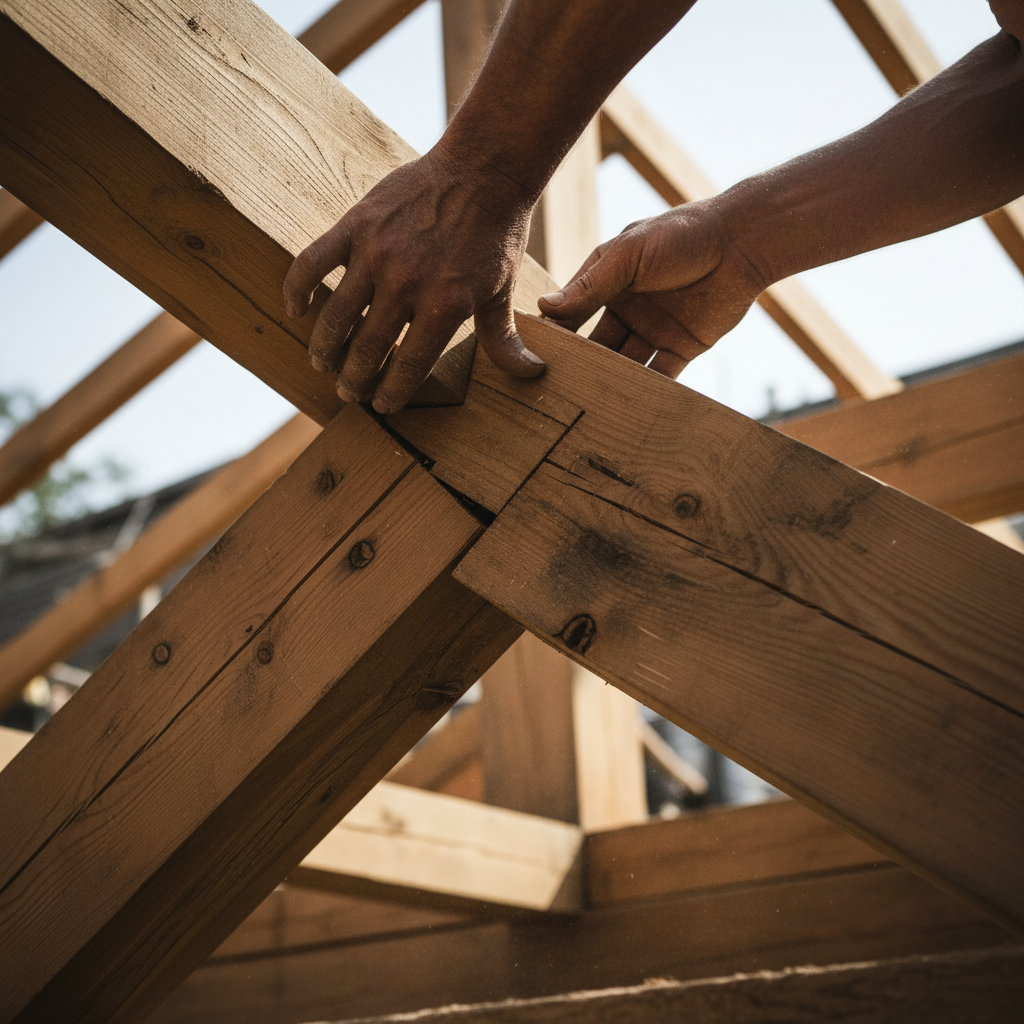
Wood trusses are a critical component in roof construction, providing structural support and stability. They are pre-fabricated triangular units designed to distribute weight evenly. Before embarking on a DIY installation, it's essential to understand the role they play in your building project.
Planning Your Installation
Proper planning is the cornerstone of a successful wood truss installation. Start by carefully measuring the area where the trusses will be placed. Ensure that your measurements are accurate to avoid any issues during installation. Consider consulting a professional to verify your plans, especially if you're new to DIY projects.
Gathering the Right Tools
Having the right tools on hand is crucial. Here's a list of essentials you might need:
- Hammer
- Nail gun
- Measuring tape
- Level
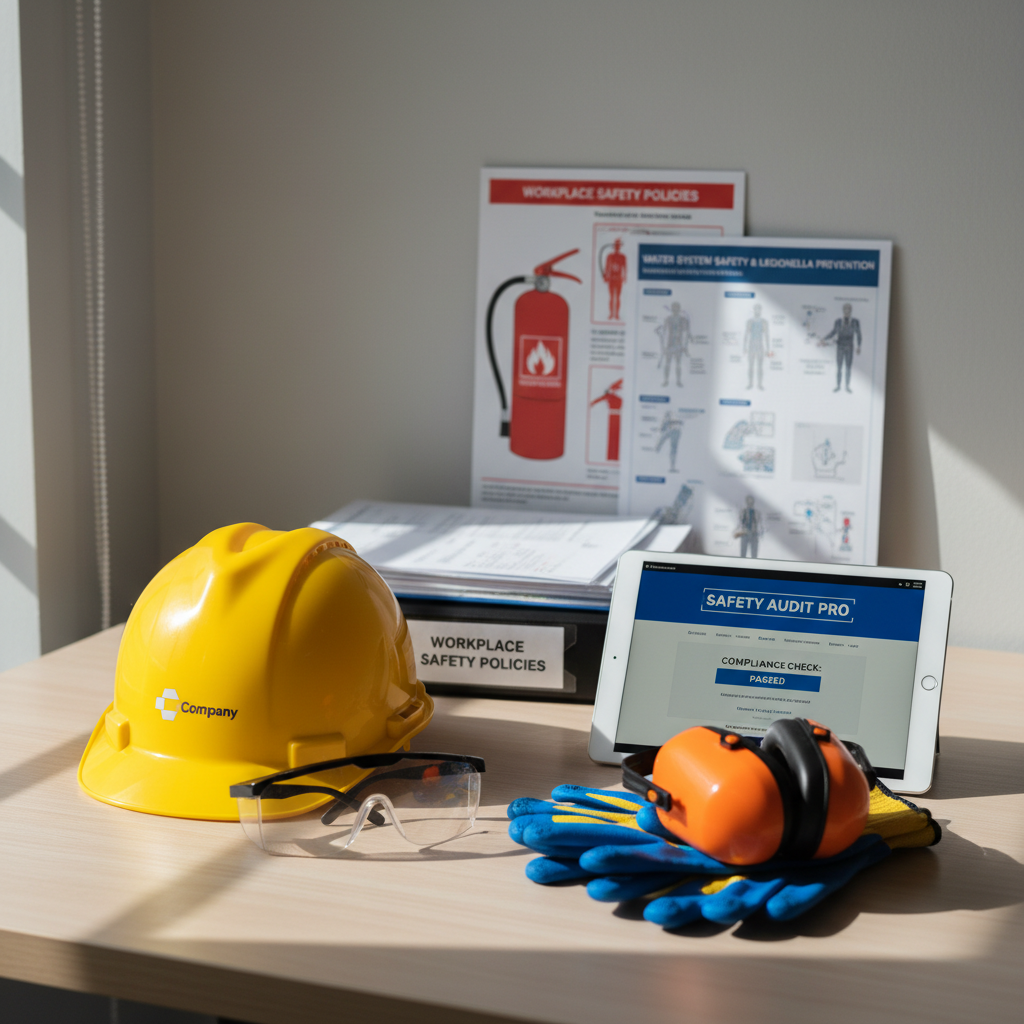
- Safety gear (gloves, goggles, hard hat)
Safety First
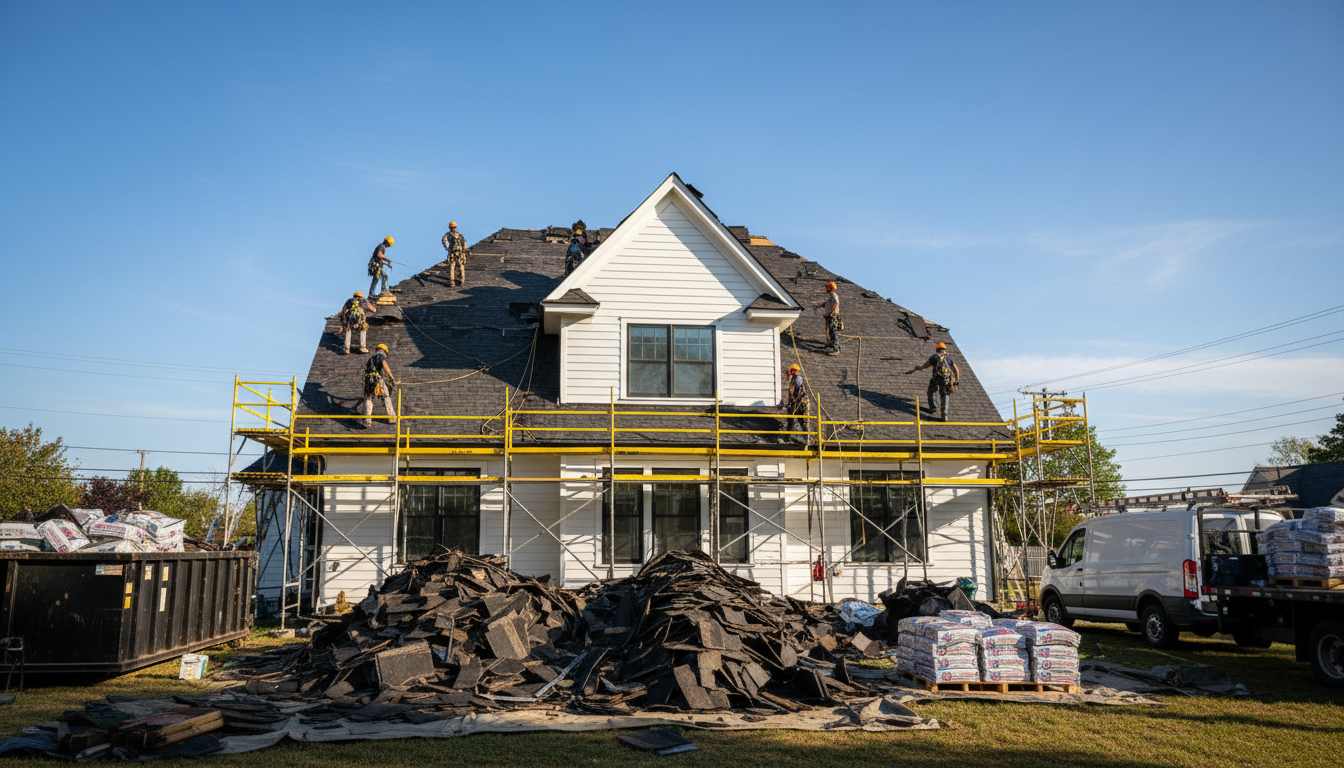
Safety should always be your top priority when installing wood trusses. Working at heights and handling heavy materials can be dangerous. Ensure you are using a stable ladder or scaffolding, and always wear appropriate safety gear. If possible, have a friend or family member assist you.
Inspecting the Trusses
Before installation, inspect each truss for any signs of damage or defects. Look for cracks, splits, or warping. It's important that all trusses are in perfect condition to ensure the integrity of your roof structure.
Installation Process
Once everything is in place, you can begin the installation. Follow these steps for a smooth process:
- Position the first truss at the end of the roof and ensure it's perfectly aligned.
- Secure it with temporary bracing to hold it in place.
- Continue placing additional trusses, maintaining equal spacing as per your design.
- Once all trusses are positioned, secure them permanently with nails or screws.
Final Checks
After securing all trusses, perform a final inspection. Ensure that all trusses are properly aligned and securely fastened. Check that there are no loose nails or screws and that all bracing is intact. This step is crucial for the long-term stability of your roof structure.
Conclusion
Installing wood trusses can be a rewarding DIY project if done safely and correctly. With the right preparation and attention to detail, you'll have a sturdy roof ready to withstand the elements. Remember, if you ever feel uncertain, consulting a professional is always a wise choice.