
DIY Installation Tips for Custom Trusses: A Step-by-Step Guide
Installing custom trusses can transform your space, whether you're building a new structure or reinforcing an existing one. With a little preparation and the right tools, you can successfully complete this DIY project. Here's a step-by-step guide to help you through the process.
Preparation and Planning
Before starting, it's crucial to plan your project thoroughly. Determine the type and design of the trusses you need based on the architectural requirements of your building. Consider consulting with a structural engineer to ensure safety and compliance with local building codes.
Gather all necessary tools and materials, such as a saw, drill, ladder, and safety gear. Organizing your tools in advance will save you time and prevent unnecessary stress during installation.
Measuring and Cutting
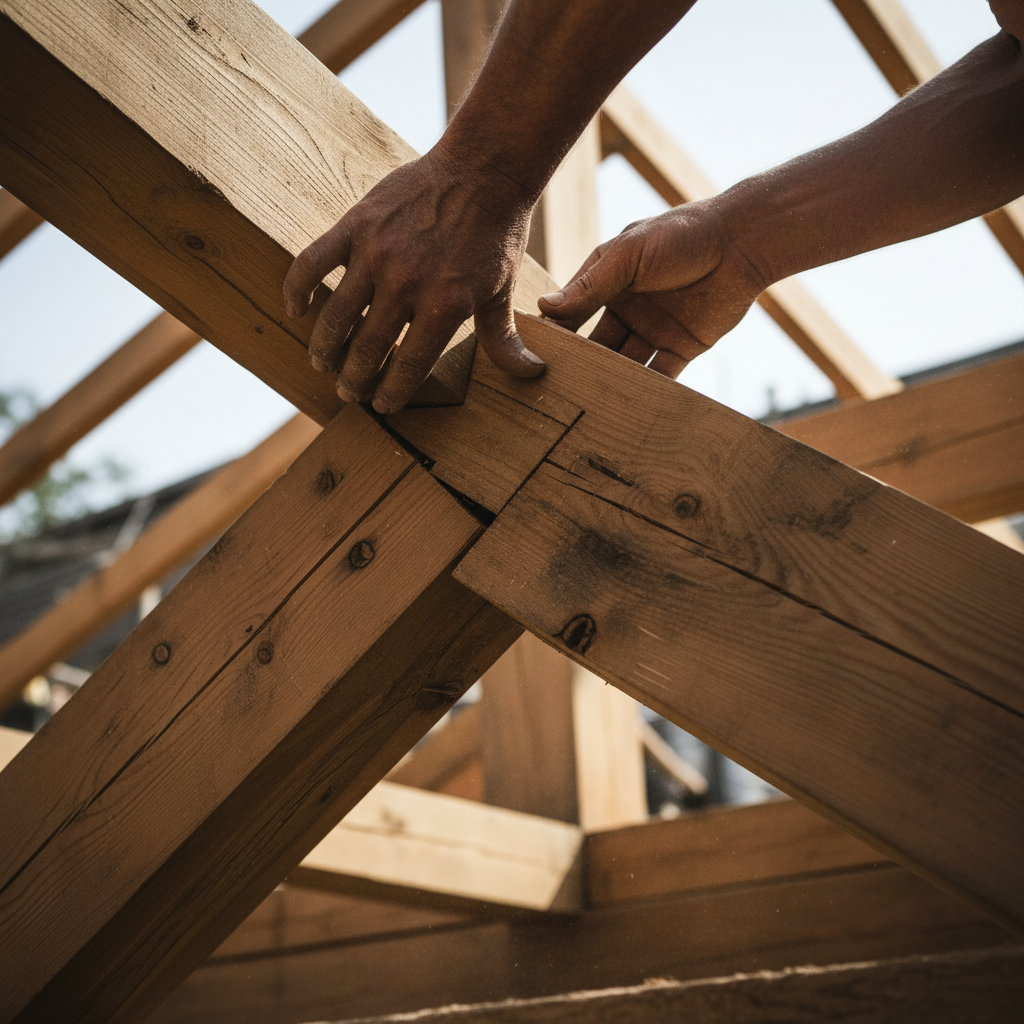
Accurate measurements are essential for a successful installation. Measure the space where the trusses will be installed. Double-check these measurements to avoid costly mistakes. Once confirmed, proceed with cutting the trusses accordingly.
Use a high-quality saw to ensure clean cuts. It's important to follow the design specifications carefully to maintain the integrity and strength of the trusses.
Safety Precautions
Always prioritize safety by wearing appropriate gear, including gloves, goggles, and a hard hat. Ensure your working area is clear of debris and hazards to minimize the risk of accidents.

Installation Process
Begin by positioning the trusses in place. It's usually best to have a partner assist you in lifting and setting them up. Align the trusses according to your building plan, making sure they are evenly spaced and level.
Secure the trusses using brackets and screws. Ensure that each connection is tight and stable to prevent future structural issues. This step is crucial for the longevity and safety of your construction.
Final Adjustments
Once all trusses are in place, inspect the installation for any misalignments or loose connections. Make necessary adjustments to guarantee everything is secure and properly aligned.
Inspection and Maintenance
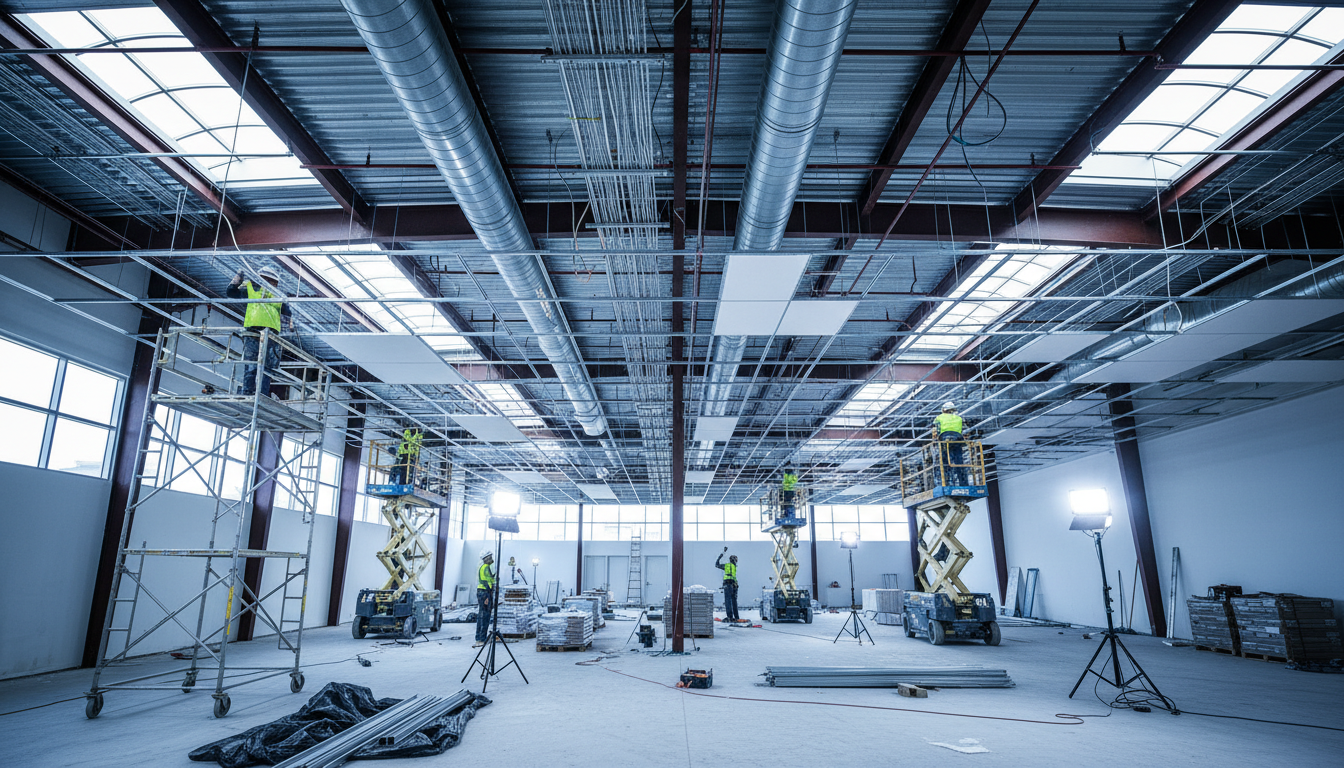
After completing the installation, conduct a thorough inspection. Look for any signs of instability or misalignment. Address any issues immediately to avoid long-term damage.
Regular maintenance checks are recommended to ensure the trusses remain in good condition over time. This can include checking for signs of wear, rust, or other damage.
By following these steps, you'll have a solid understanding of how to install custom trusses effectively. With careful planning and attention to detail, your DIY project will be a success, providing both functionality and aesthetic appeal to your space.